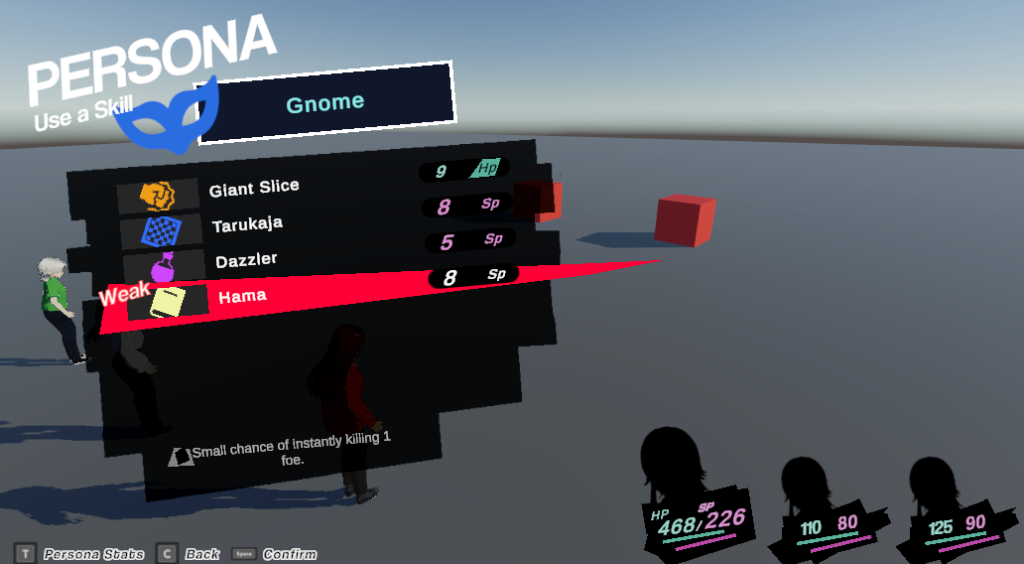
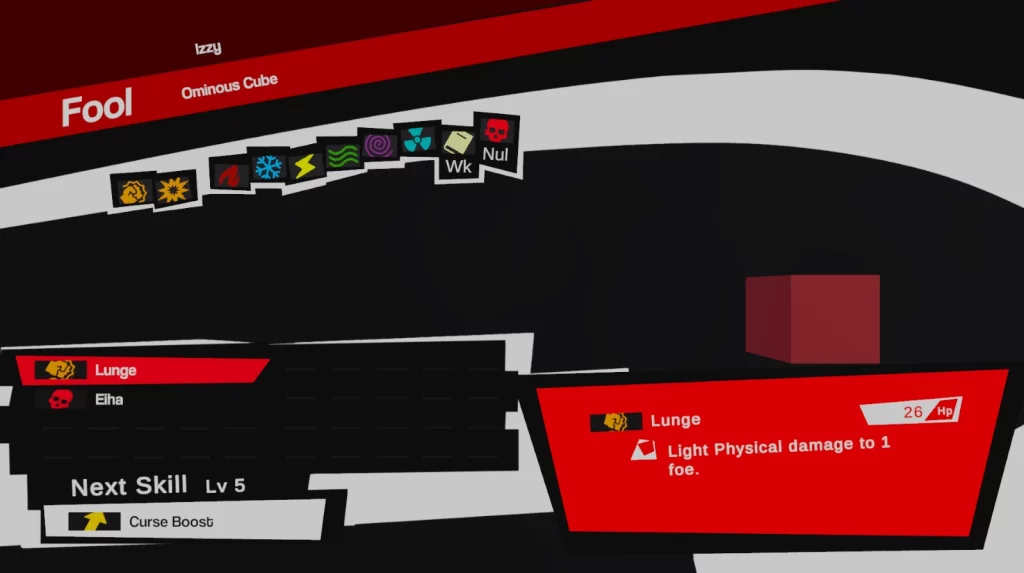
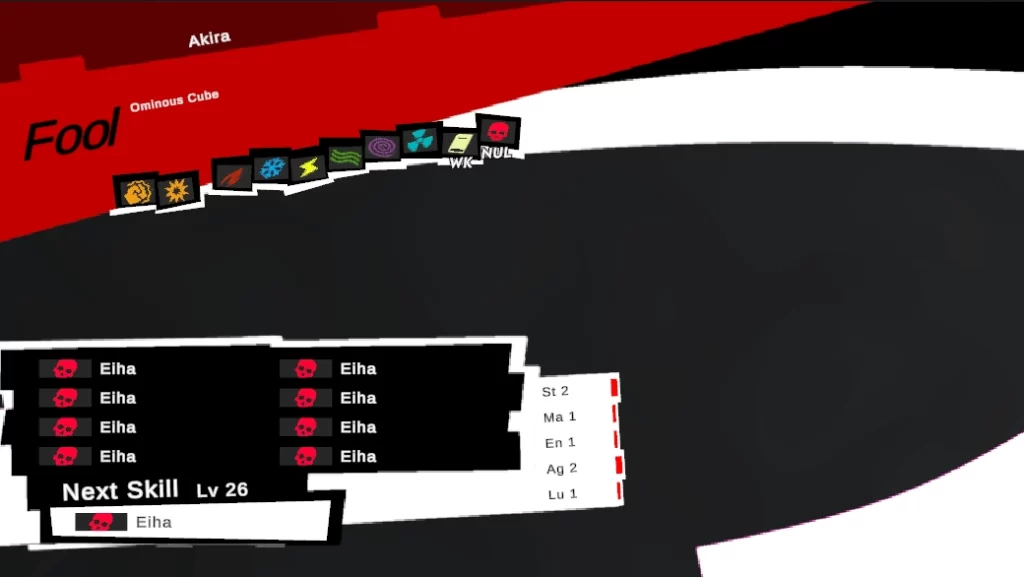
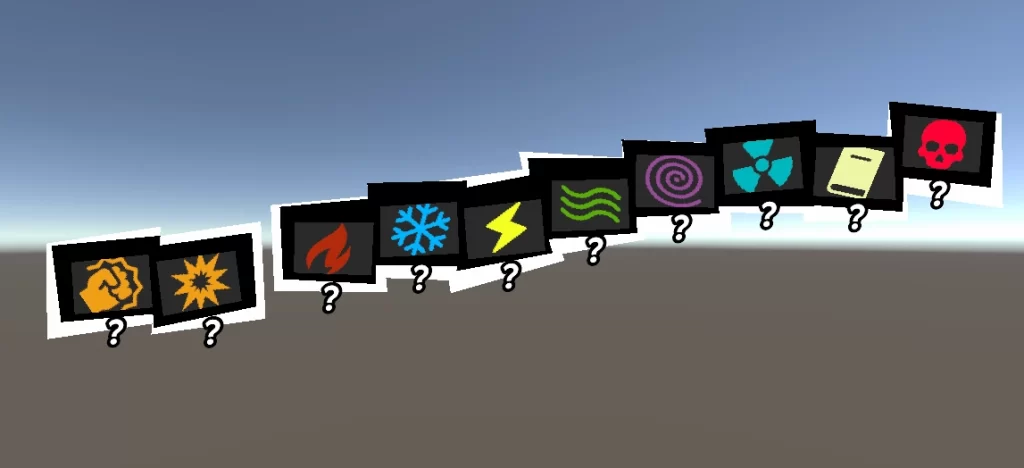
Data Handling After the first day I was spending time working on the data structure for all the data needed for persona's which is a lot. The skills stuff I…
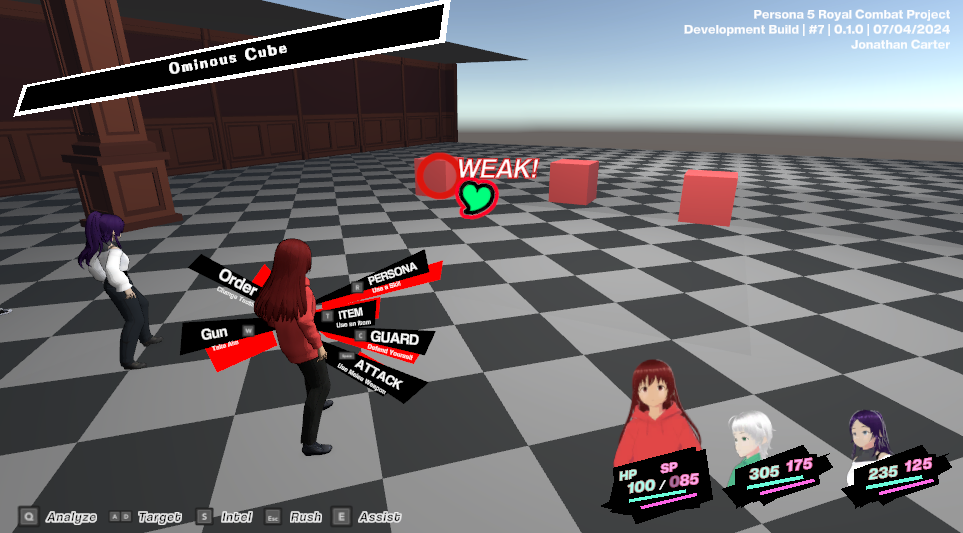
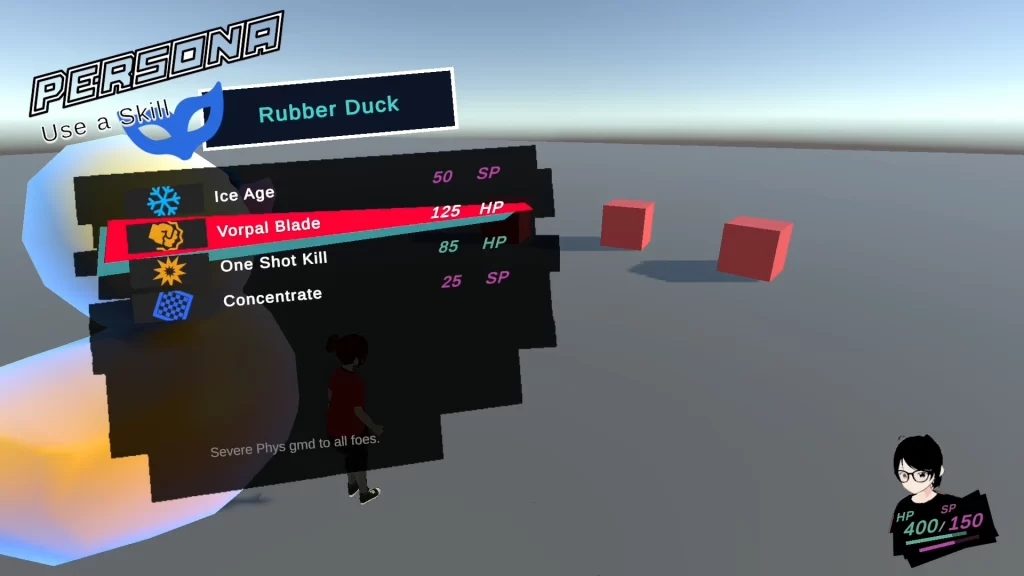
https://youtu.be/Vsa7KIdXagM I was able to get a full day more of less to kick the project off with a bang. For the majority of the day I was focused on…
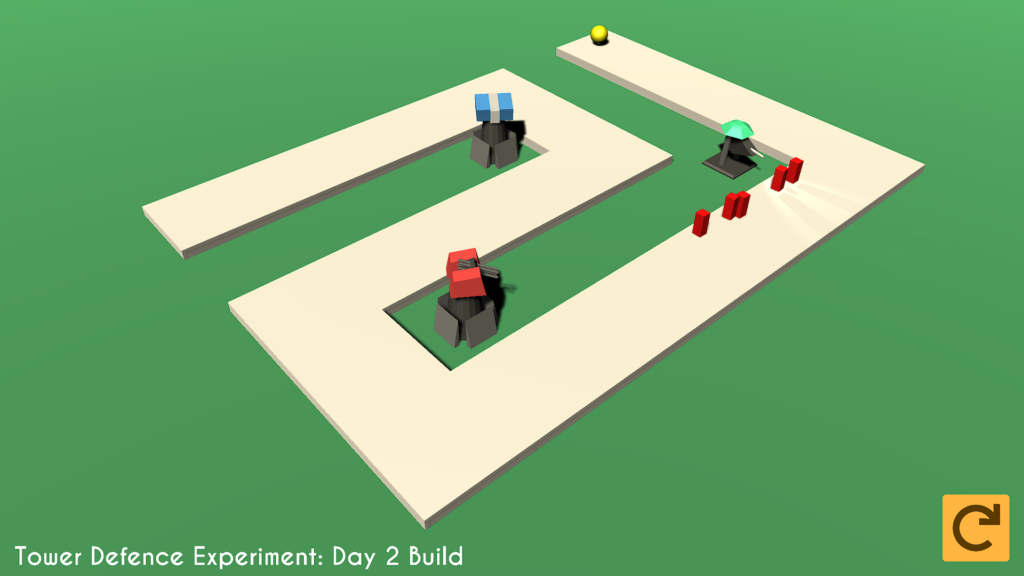
🎲 Tower Defence Micro Project A small test project where I created a few turrets from Emperor: Battle for Dune in a tower defnese styled game. https://youtu.be/JMIifWYhpxY Summary Role: Sole…